
The Toy Rotation System That Didn’t Add More Work to My Life
If your house is anything like mine, there are two things that tend to cause the biggest organization struggles:
Toys and laundry.
And while I’m still figuring out the laundry situation… I did finally find a realistic way to manage the toy clutter without adding another complicated system to my to-do list.
This is the toy rotation method that I actually followed through with — because it’s simple enough to maintain in real life.
Why I Couldn’t Stick With Toy Rotation Before
I’ve tried implementing toy rotation more than once.
And every time it looked something like:
Categories for different types of toys
Labels for each bin
Equal numbers of each toy type
Carefully planned rotations
It was honestly just too much to keep track of.
So… I didn’t do it.
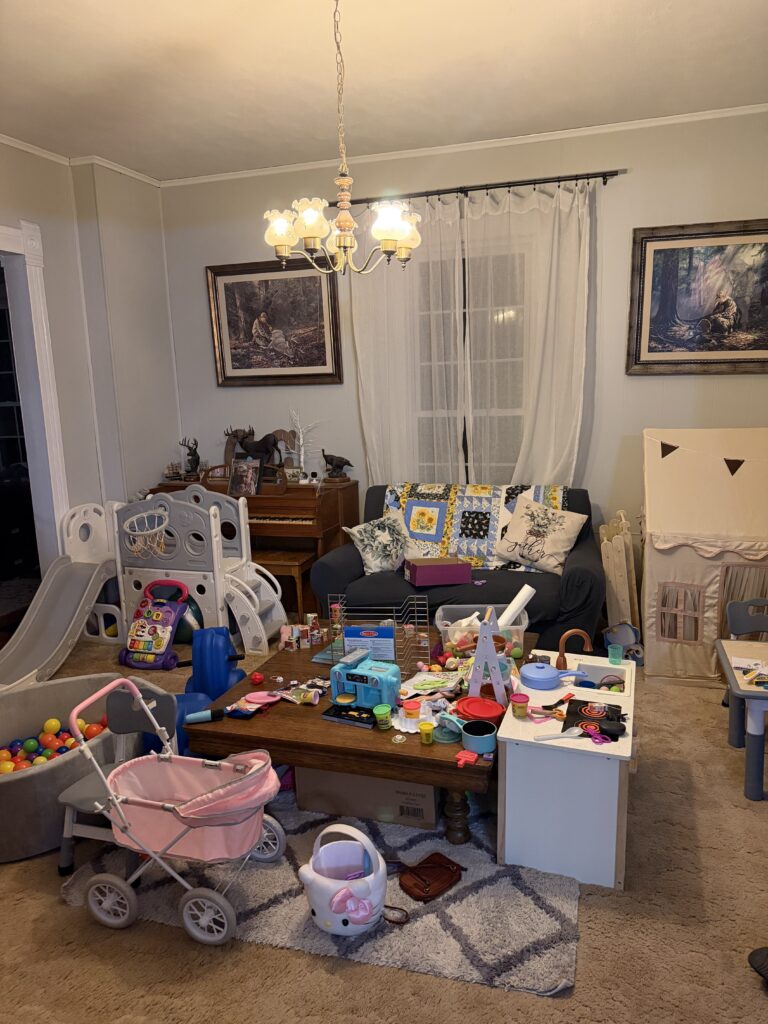
Everything stayed out. All the time.
We do have a toy box, but what I noticed was that my 3-year-old rarely dug through it to find something she hadn’t played with in awhile. She mostly just played with whatever was sitting on top.
But when I pulled something from the bottom that she hadn’t seen in weeks?
Suddenly it was the most exciting toy in the house.
Out of sight really was out of mind.
That’s when it clicked for me — she didn’t need a perfectly balanced selection of toys.
She just liked getting “new” ones.
The Goal: Rotate Toys Without Creating More Work
I knew that putting toys away and bringing them back later would help cut down on clutter and keep things interesting.
But I didn’t want:
A system that required constant tracking
Detailed planning
Matching toy categories
Or remembering what I had already rotated out
I needed something quick.
Something that worked on busy days.
Something that didn’t take mental energy I don’t have at 8:30pm.
The Toy Box Method (Simple Version)
Here’s what I started doing instead.
Step 1: Choose the Toys That Stay Out All the Time
These are the toys I know my daughter plays with daily:
Magna-Tiles
Barbies / baby dolls
Playdoh
Her train set (currently the obsession)
I also kept all larger toys out of the rotation:
Play kitchen
Play food
Dollhouse
Tricycle
Ride-on toys
Then I put those everyday toys into small, clear bins so she could still see what was inside.
(You can absolutely make cute labels if that’s your thing — I used a black marker and called it a day.)
The important part is that the bins are clear.
If she can’t see it, it may as well not exist.
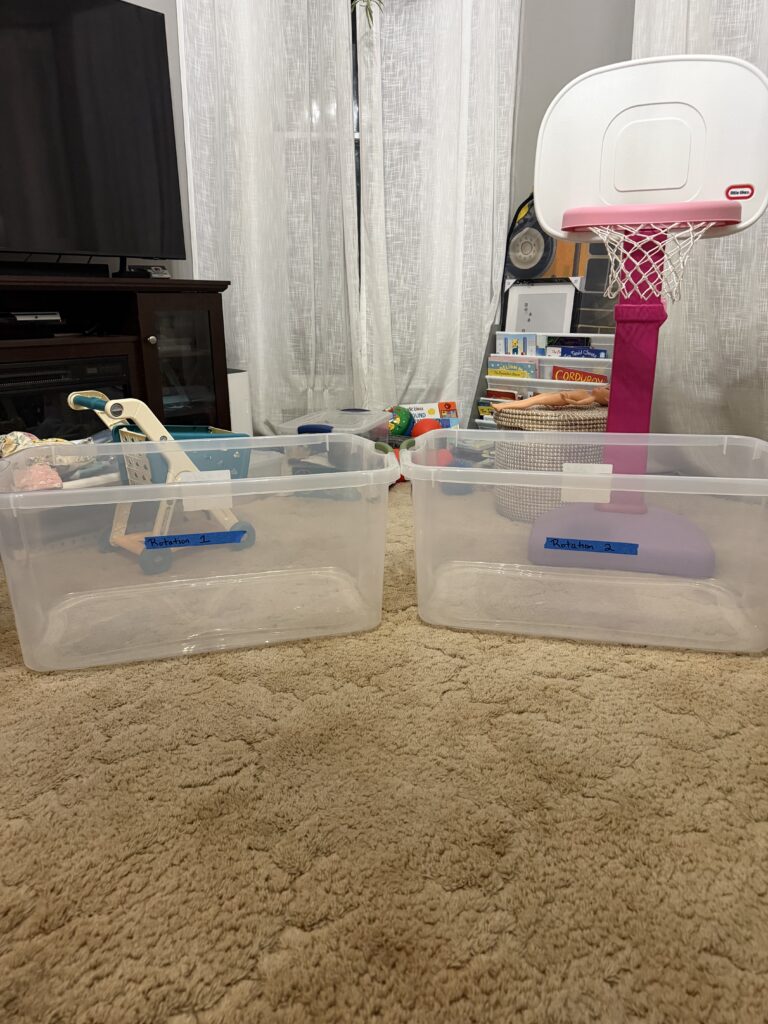
Step 2: Create One “Rotation 1” Bin
Every other toy that wasn’t staying out went into:
One medium clear bin labeled Rotation 1
That’s it.
No categories.
No organizing by type.
No counting how many puzzles vs. cars vs. figurines.
Just one bin.
From that bin, I picked 10–12 toys to put out for the first rotation.
Step 3: Rotate Without Overthinking It
Every 2–3 weeks (or whenever I notice she’s losing interest):
Gather the 10–12 toys that are currently out
Put them into a second clear bin labeled Rotation 2
Choose another 10–12 toys from the Rotation 1 bin
Put those out
Repeat this process until Rotation 1 is empty.
When that happens?
Dump everything from Rotation 2 back into Rotation 1 and start over.
Why This Works So Well
This keeps me from having to remember:
What I’ve already rotated
When something was last out
Or how to keep things “balanced”
I just reach into the bin and grab what’s next.
The whole rotation takes about 10–15 minutes — including the time it takes me to walk up to the attic where I stash the bins.
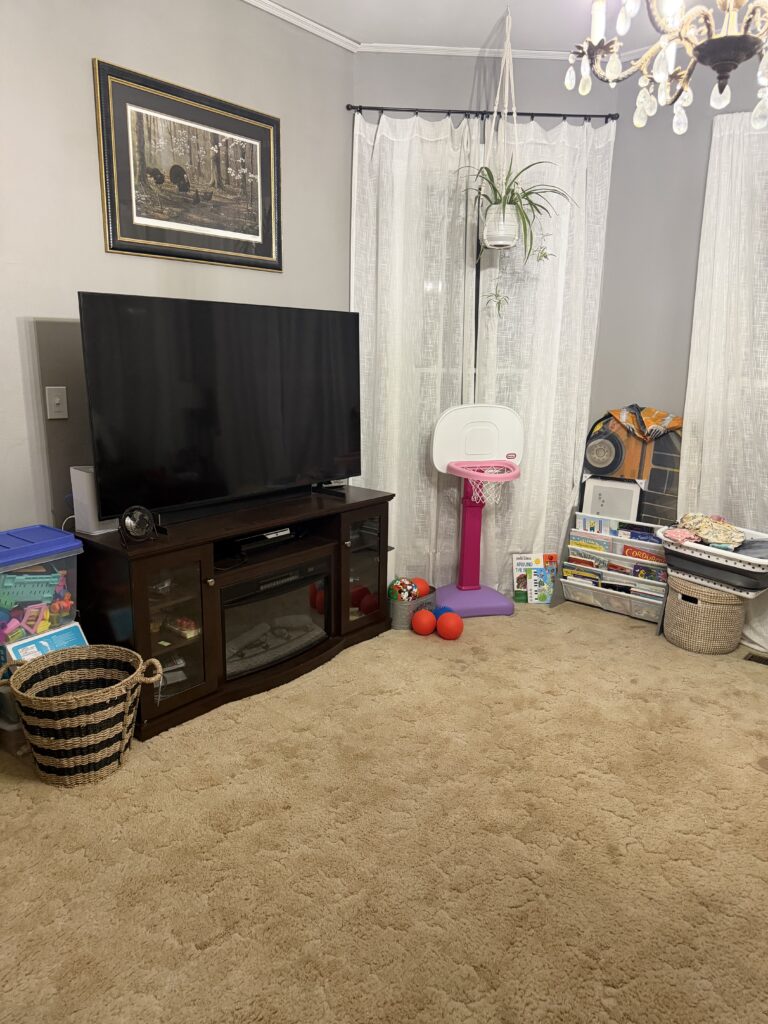
Because fewer toys are out at once:
Nightly clean-up takes about 5–10 minutes
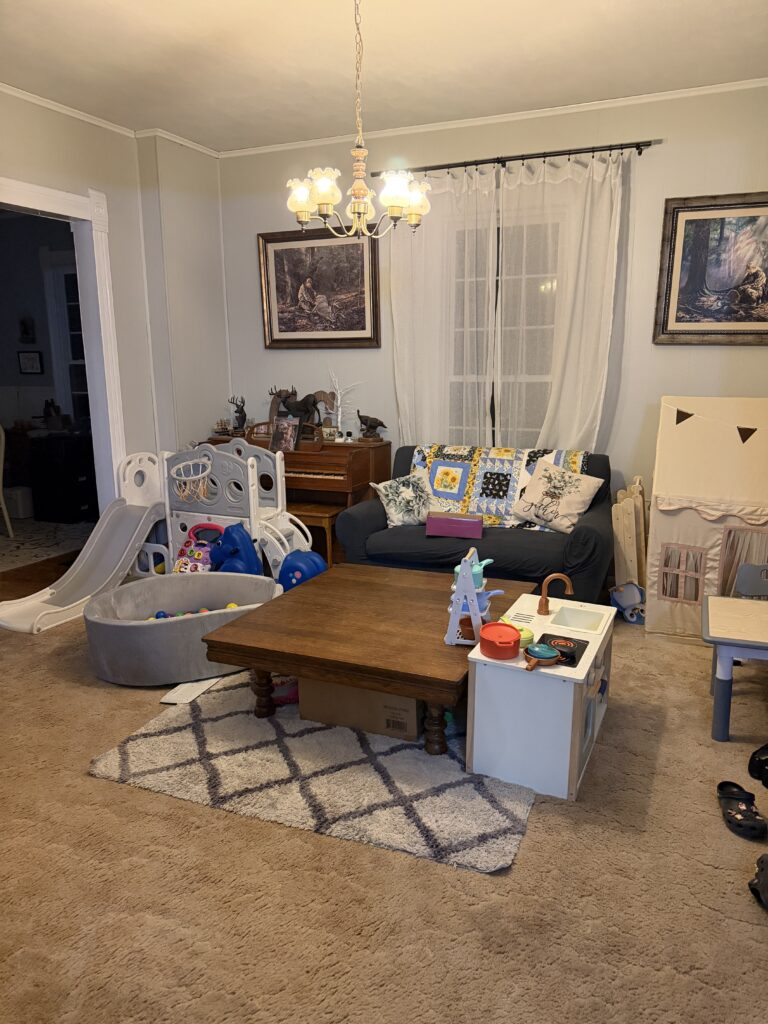
The living room stays manageable
My daughter gets excited about toys again
And I’m not spending extra time organizing
It’s one of those small systems that helps me work smarter instead of harder — and protects more of our evening for actually spending time together instead of picking up the same toys over and over.

If You Want to Try This Yourself
You don’t have to do this exactly the way I did.
You could:
Rotate weekly instead of every few weeks
Put out fewer toys at a time
Skip labeling altogether
Keep rotation bins in a closet instead of the attic
The point isn’t to do it “right.”
The point is to make the mess easier to manage in a way that gives you more time and energy for your family.
And for me — this has been a big win for both my living room and my sanity.